Salted egg yolk are a sadly underappreciated ingredient, and one that everyone needs to start eating. They come with a heavy hit of umami, alongside the incredible saltiness, that makes them a perfect topping for so many dishes.
When I first saw a salted egg yolk, my immediate thought was “look, candy!” Not because I’m always thinking about candy (that’s only part of the reason). It’s because salted egg yolks look almost identical to gummy candy, and you just want to pop one in your mouth.
Even though they aren’t candy, salted egg yolks are still amazing. They’re such a versatile ingredient, and once you’ve started using them, you’ll wonder how you ever did without. There are two methods for making these: quick, and hands-off.
I’m a fan of the quick method, but the hands-off definitely has its merits.
What are salted egg yolks?
A popular Chinese ingredient, salted egg yolks are eggs that have been cured in salt or brine. This makes the yolks firm, and full of umami deliciousness. Duck eggs (check out our tasty duck soup recipe) are best, because they’re larger.
However, chicken eggs can be used in substitution. If you prefer chicken, look for those with golden yolks.
What can be done with salted egg yolk?
So much! There are so many possible uses for salted egg yolk. They’re amazing mixed in with stir-fries, and the firmer yolks taste fantastic grated on pasta dishes.
They’re also so good boiled in congee, or used in dumplings. It can traditionally be found in moon cake, and is also popular with pastries. Try it with meat, or seafood!
Quick Salted Egg Yolk Recipe
Ingredients:
- Duck eggs
- Salt
- High alcohol wine
Directions:
- Crack the duck eggs into a bowl, trying to keep the yolks intact. While it might still be possible to salt a broken yolk, it doesn’t look as good, and won’t work as well.
- Fill a Tupperware container or glass dish with an even layer of salt, roughly ¼ inch thick. Create a divot in the salt using the back of a spoon. However, the yolks should still be sitting on the salt.
- Carefully separate the yolks from the whites. Duck eggs can be hard to separate, but the easiest way to do so is with your hands. Pass the yolk back and forth gently, until the white falls away.
- Place the duck egg yolks into the divots you made in the salt. The yolks shouldn’t be touching, but it doesn’t matter if they’re close.
- Cover the yolks with more salt. They must be covered completely, so you can no longer see any of the yellow. Don’t worry about how much salt to use, aim for complete coverage.
- An optional step is to gently spoon a small amount of high alcohol wine on top of the yolk. Some find that this helps to remove any excess smell that might linger around the eggs.
- Cover the container with plastic wrap, and place in the refrigerator to cure.
- After 24 hours, they should be ready to remove, but they’re best left for longer. Anywhere between 3 days and a week is good.
- Remove the yolks from the fridge. They should be firm, able to be easily held. Dust excess salt off the outside. Submerge the yolks in high alcohol wine. This cleans off the remaining salt, and kills bacteria. Alternatively, submerge them in an apple cider vinegar solution.
- These are now ready to eat! Store them in a sealed container filled with vegetable oil, and they’ll last for 2 ½ weeks in the fridge.
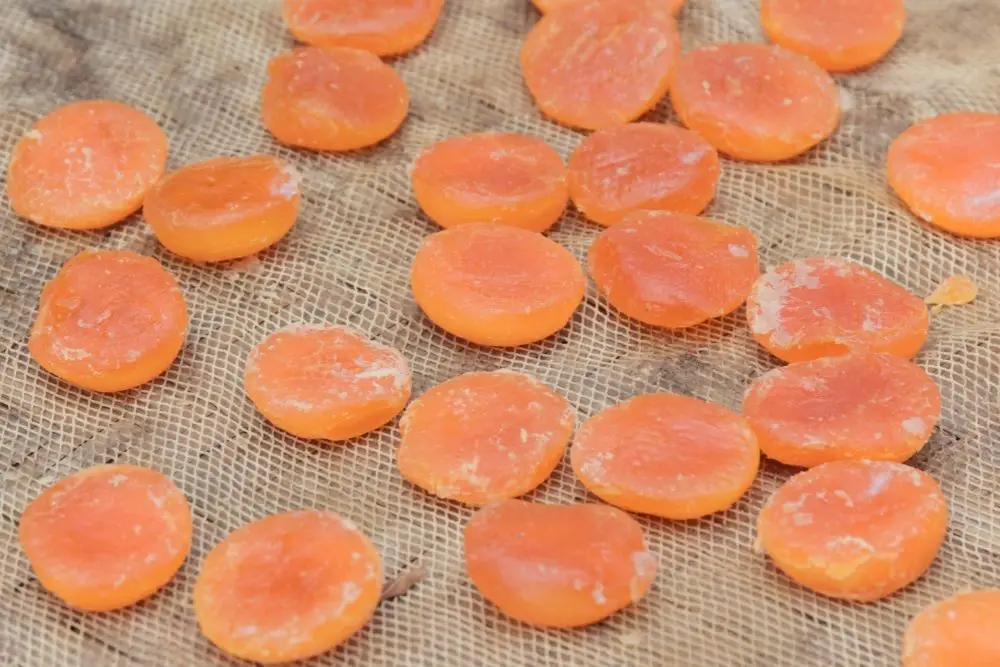
- If you want to grate the egg yolks, once the salt has been cleared, place them in a cheesecloth. Put them back in the fridge, and leave to dry for 2 to 7 days.
Notes: You’ve probably noticed in the ingredients that there isn’t much in the way of amounts. Which is to say, I haven’t given any at all. This is because it’s pretty hard to determine exactly how much salt you need per egg. You can’t really over salt them, so it’s better to add too much.
What’s the longer recipe?
The longer recipe involves soaking entire eggs in brine, which takes at least a month. This simple recipe is for those who want salted egg yolks now, but brining is much more hands off.
Ingredients:
- 12 duck eggs
- 4 cups water
- 1 cup salt
- 1 tablespoon Shaoxing wine
Directions:
- Wash the eggs until clean, checking for cracks. Leave to dry.
- Create the brine. Add salt, and any aromatics you want to use, to the water in a saucepan. Bring the water to a boil, until the salt has dissolved. Turn the heat off, cover, and leave to cool completely.
- Once the brine has cooled, add the Shaoxing wine. You may prefer to use Chinese Baijiu, or whiskey.
- Place the eggs into a large glass container. Pour the cooled brine solution on top, covering the eggs completely. Some eggs will try to float to the top, so make sure they’re all covered. Move them about with a clean plastic spatula, or cover them with a small plate. All the eggs need to be submerged, or they won’t cure properly.
- Seal the eggs tightly in a container, and leave for 30 to 60 days, in a cool, dry place. After 30 days, check to see if they’re done by boiling one of the eggs. The white will probably be quite salty, but the yolk might not be ready yet. If this is the case, seal them back up and leave for longer.
- Once you’re satisfied that they’re done, drain the eggs and wipe them dry. They can be kept for several weeks in the fridge.
- If you want the yolk alone, carefully separate it from the white. The yolk should be firm, and suitable to be used in cooking.
Notes: Aromatics to be used in the brine include cinnamon bark, Sichuan peppercorns, star anise, and tea leaves.
The containers and equipment used should be sterilized thoroughly beforehand.
Our special bak kwa recipe is another delicious recipe I strongly recommend for you.