Nowadays, you can top your pizza with pretty much anything that you fancy. Putting clams on your pizza is hugely popular.
White clam pizza specifically, is a favorite in New Haven, Connecticut, where it was invented at Frank Pepe Pizzeria Napoletana. However, this doesn’t mean that you have to be from or living in New Haven to enjoy it.
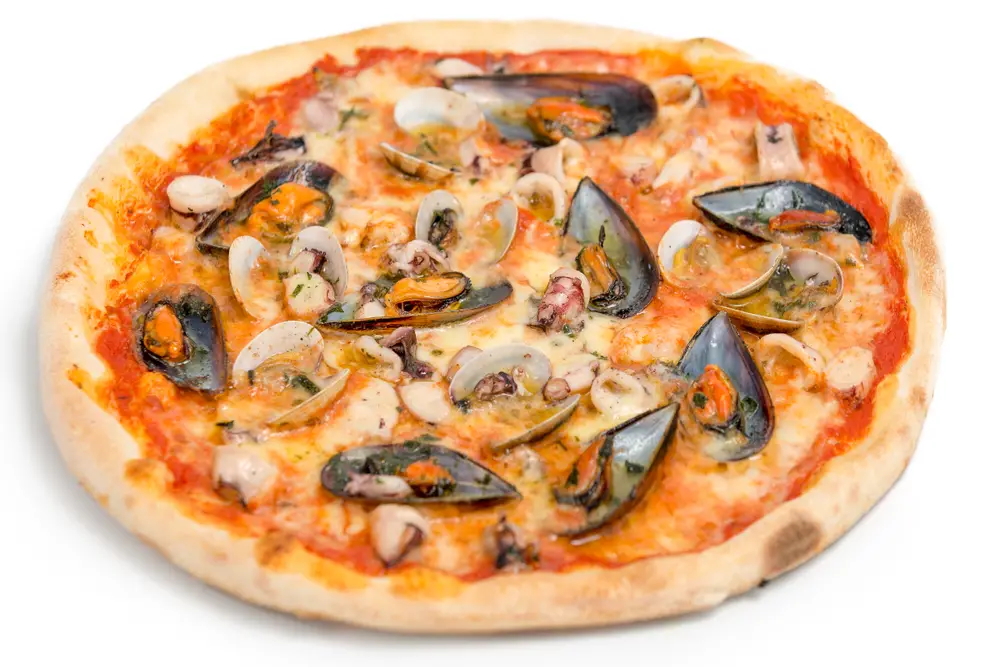
It does not have a tomato base as it is a white pizza and this is one of the many things that sets it apart from many other popular pizza varieties.
We have provided you with a recipe below that you can follow to recreate this legendary pizza from the comfort of your home. It is easy to prepare and can serve multiple individuals.
Ingredients:
Pizza Base
For the base, you can either use shop-bought pizza dough or you can attempt to make your own homemade version. The recipe for creating homemade pizza dough is as follows:
- All-purpose flour – approximately 319 grams
- Salt (kosher or sea salt) – 1.5 teaspoons
- Water – approximately 8 Ounces, lukewarm
- Yeast (active dry or fresh) – ¾ teaspoon
- Olive oil – ¼ cup
To top the pizza
- Littleneck clams – 20 to 24
- Garlic cloves – 4 to 5 sliced
- Parsley – 1 stem
- Thyme – 1 sprig
- Heavy cream – 1 cup
- A sprinkling of salt and pepper – added according to taste
Step 1:
Begin by preheating your oven to 450 degrees Fahrenheit and insert the pizza stone to warm.
Lightly flour the surface and roll out your pizza dough until it is in the shape of a 12” circle. If you are going to be making the dough yourself, proceed to the next step.
Step 2:
This is a brief guide on making pizza dough. First, you will need to allow the yeast to dissolve in a bowl of warm water. Then you will need to stir it with the oil before combining it with the flour. Continue to mix until the ingredients no longer appear separated.
If you have one with your mixer, you will need to transition to the dough hook. Those who don’t have a mixer will be able to make the dough by hand. Once you have kneaded the dough, you will then need to collect it in a ball.
Put it into a bowl and then set it aside and allow it to rise. Remember to oil the bowl as this will prevent the dough from sticking. You should expect the dough to take around 3 hours to rise properly.
Step 3:
Next, you will need to prepare your clams. Rinse them with water to get rid of any sand or debris. Then allow them to soak for 30 minutes longer just to make sure that there is definitely no sand clinging to them.
Step 4:
Take a generously sized pan and add a dash of olive oil before mixing in the garlic, parsley, and thyme. Cook for around 5 minutes before adding the clams and then covering to steam for a further 5 minutes.
Some people may choose not to cook the clams before putting them onto the pizza, so this is optional. Once they start to open you can remove them from the heat and put them into a bowl, keeping the remaining liquid inside the pan.
Step 5:
Add the cream to a separate bowl and whip until it forms soft peaks. Then add some of the liquid from the clams and keep stirring. There isn’t a set amount regarding how much should be added so you can alter it according to your taste preferences.
Step 6:
Your cooked clams should now be cool. If so, remove and discard the shells before chopping them down to your desired size.
Step 7:
Now you will need the pizza dough that you prepared earlier as it is time to dress it with all of the toppings. Once you have rolled it to the preferred shape and size place it onto your pizza pan.
It is recommended that you line the pan with parchment paper first because this will stop it from sticking.
Step 8:
Next, you will need to spread a thin layer of the cream mixture onto the base of the pizza leaving a slight gap around the edge. Take the clams and then scatter them onto your pizza.
Now is also the time to season your pizza to enhance the taste. Spread on some parsley, add a small dash of olive oil and garlic.
Step 9:
Take your fully topped pizza and insert it into the preheated oven and allow to cook for around 5 to 10 minutes. You will likely be able to tell whether or not your pizza is done by looking at it once the time has passed.
If it does not yet look golden brown and crispy, leave it in for a few minutes longer.
Step 10:
Once your pizza is cooked, you can remove it from the oven. If you have any on hand, you can take a lemon wedge and squeeze some of the juice onto the pizza. Then take your pizza cutter, cut it into slices and then serve immediately whilst it is still hot.
Additional Tips:
Some people may choose to top their pizza with cheese. Although we haven’t listed cheese in our ingredient list or included it in any of the steps, if you would like to use it, simply grate it and then sprinkle it onto your pizza before putting it in the oven.
When the pizza is done, the cheese will start to bubble and melt.
If you have too much pizza dough, it can be frozen to avoid it going to waste. Before freezing homemade pizza dough, it is recommended that you coat it in oil first and then put it into a freezer bag.
Squeeze all of the air out and then pop it into your freezer where it can last for up to 3 months. When you are ready to use it, remove it from the freezer, allow it to thaw overnight, and then it will be suitable for use.