In the mood to try something new? If you’ve got a sweet tooth like me, and just so happen to feel like experiencing a taste of Asia, then this snow skin mooncake is the perfect recipe for you.
Unlike other types of desserts out there, this recipe is quick, simple, and easy to make, so if you don’t already have the ingredients lying around in your kitchen cupboards, you can bet that your local Asian food store will have everything you need!
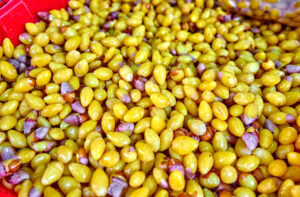
Source: https://www.shutterstock.com/image-photo/snowy-skin-mooncakes-chinese-mid-autumn-454614634
Snow skin mooncake is refreshing and airy and features a yummy dollop of custard encased within an aromatic mochi wrapper.
If you’re celebrating the Mid-Autumn Festival, then this recipe will be perfect for the festive season, especially if you’re looking for a slight variation to the traditional moon cake. Let’s jump in!
What Is A Snow Skin Mooncake?
In Chinese, Snow Skin is referred to as “Bing Pi” which quite literally means “Ice Skin”. With regards to the dessert dish, the term “snow skin” is used to refer to the color of the mooncake, as well as the texture of the mooncake’s wrapper.
However, slightly different from the traditional mooncake recipe, snow skin mooncakes are made with a type of sticky rice flour dough and are more often than not served chilled as a tasty treat or chilled snack.
Besides being a delicious treat, the Chinese mooncake is also a dish specifically eaten to celebrate the Mid-Autumn Festival.
According to the Chinese lunar calendar, this festival falls on the 15th day of August, which is always a full moon. Besides gathering with loved ones and friends to look up at the moon, mooncakes are also passed around as part of the festivities.
Interestingly enough, many people also refer to snow skin mooncakes as mochi mooncakes, due to both the texture and flavor, which is reminiscent of mochi, which are cute round buns that are sugary sweet with a dough-like texture.
Similar to regular mooncakes, snow skin mooncakes can be filled with a variety of different pastes, including black sesame paste, lotus root paste, and more.
However, the most common type of filling used in snow skin mooncakes is plain old custard, which is a popular variation used most commonly in America and the United Kingdom.
The recipe that I’m going to be using will consist of a custard filling because I like the buttery and creamy flavor of the custard, and the way that it complements this Chinese dish.
However, if you do want to try out a more traditional filling (durian paste is particularly popular in Southeast Asia, and will give you a truly authentic culinary experience) then please feel free to do so.
How To Make Snow Skin Mooncakes:
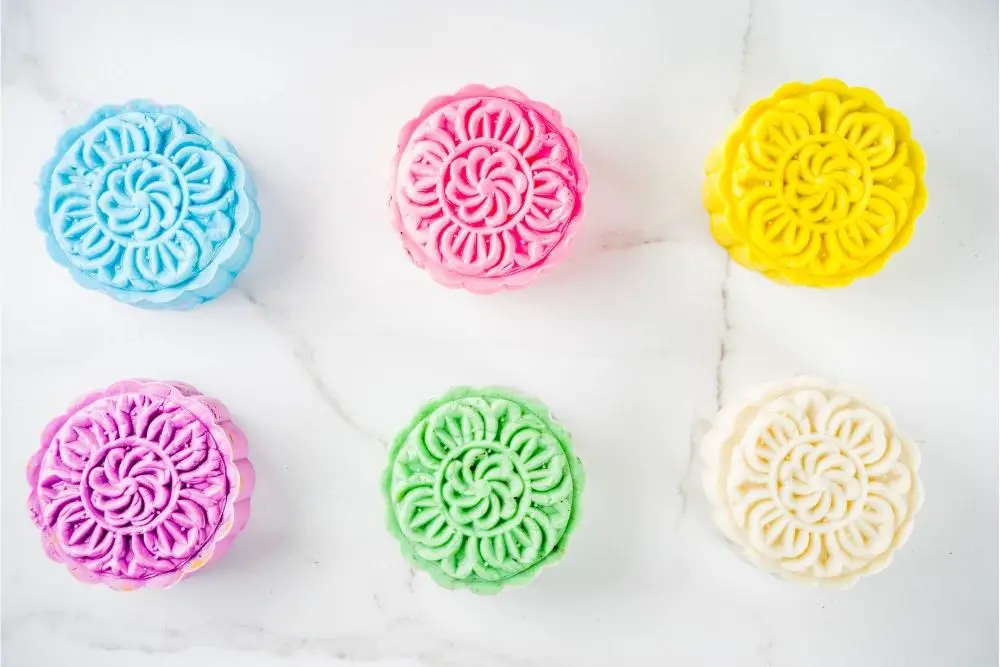
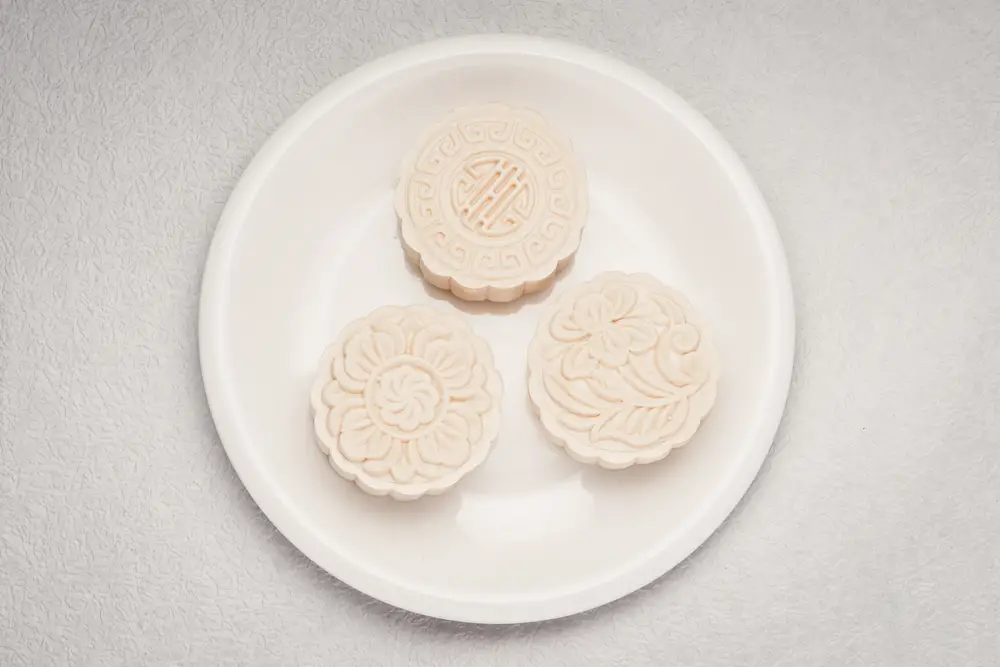
The snow skin mooncakes that we will be making will have a white outer layer so that it fits in with its “snow skin” name, as well as delicate and chewy skin. Like I mentioned above, this recipe will be using custard filling, so it will be best served chilled.
Unlike traditional Cantonese mooncakes, which are brown pastries that are baked in the oven, these snow mooncakes don’t involve baking and are a lot sweeter and more delicate on the palate.
Read on to discover how to make your very own snow skin mooncakes that will taste just as good as if you were to have purchased them from a Chinese bakery!
Snow Skin Mooncakes Dough – What You’ll Need:
- 1 tablespoon of condensed milk
- 3 tablespoons of glutinous rice flour
- 2 tablespoons of wheat or cornstarch
- 2 tablespoons of icing sugar
- ½ cup of milk
- 1 tablespoon of cooking oil
If you don’t have all of the ingredients to make your snow skin mooncakes, then you’re likely going to have to make a trip to your local Asian supermarket, particularly for the glutinous rice flour (look for “糯米粉”) and wheat starch (look for “(澄粉”).
Snow Skin Mooncakes Dough – Directions:
- To begin, first, grab a mixing bowl and place it on your kitchen counter. Pour your half cup of milk, glutinous rice flour, icing sugar, milk, and wheat starch into the bowl. Then, with a whisk, thoroughly mix all of the ingredients together until you have one big mixture.
- Once you have mixed all of the ingredients for the skin into one mixture, transfer the mixture into a plate that is deep enough to hold all of the mixture without pouring over the sides. After you have done this, transfer the deep plate directly into a steamer.
- After transferring the plate into a steamer, cook the mixture on medium heat for around 15 minutes. However, I do recommend that you frequently check the mixture to see if it hardens earlier than this time frame, as you don’t want your mixture to become too hard that you can no longer use it.
- Once you have finished steaming your mixture, immediately remove the plate from the inside (making sure that you are wearing a kitchen glove to prevent getting burnt) and then set your hardened dough to one side so that it can cool down.
- As soon as your hardened dough is cool to the touch, put on a pair of disposable gloves to prevent the dough from sticking to your skin, and then begin smoothing it out until it is pliable and smooth. Then, wrap the dough in cling film, and place it into your refrigerator for 2 hours.
Snow Skin Mooncake Custard Filling – What You’ll Need:
- 45g of unsalted butter
- 2 lightly beaten egg whites
- 2 tablespoons of wheat starch
- 40g of powdered milk
- 3 tablespoons of icing sugar
Snow Skin Mooncake Custard Filling – Directions
- Mix all of the ingredients into a small-sized saucepan. Heat over low heat.
- Stir the mixture constantly with a wooden spoon until the mixture becomes solid.
- Take off the heat, and let it cool in the fridge for 2 hours.
- After 2 hours, you can then take out the custard filling and roll it into medium-sized balls. Then, roll the dough around the custard balls.
How To Mold Your Mooncakes:
- To mold, you’ll need to have a pattern plate, such as this one.
- Dust all of your mooncakes with wheat starch.
- Place your wrapped mooncake balls into the mold, and then smooth the surface directly against the pattern plate.
- Place your mold on a flat surface, and then press the level of the plate for around 30 seconds. Then, push the lever to remove your mooncake, before finishing with a sprinkling of icing sugar.
- Serve and enjoy!