When you think about fruits, there are some that you might expect to see dry. Raisins are, of course, dried grapes, and it is also very common to eat dried cranberries or apricots as a snack. But, one fruit that you might not expect to eat dried could be a plum.
Plums are fairly large fruits, and they are so well-loved because of their strong flavor and juicy texture. Due to this, you might expect dried plums to be dull and boring. But, dried plums are actually very popular.
Mainly because they can be used in lots of different scenarios, and many dishes. They can make a great snack, and they can also make a healthy dessert.
You might never have attempted drying fruit, but it is a lot easier than you may expect.
So, if you want to give drying your own plums a go, then you are in the right place. In this handy guide, I’m telling you absolutely everything you need to know about drying your plums ready to enjoy.
What is a Dried Plum?
I really don’t have to go into much detail here, as the name pretty much gives away what a dried plum is. As you probably expect, a dried plum is a plum that has been dried out.
I said earlier that you might not expect to eat a dried plum, but when you know what they are also called, it will start to make sense.
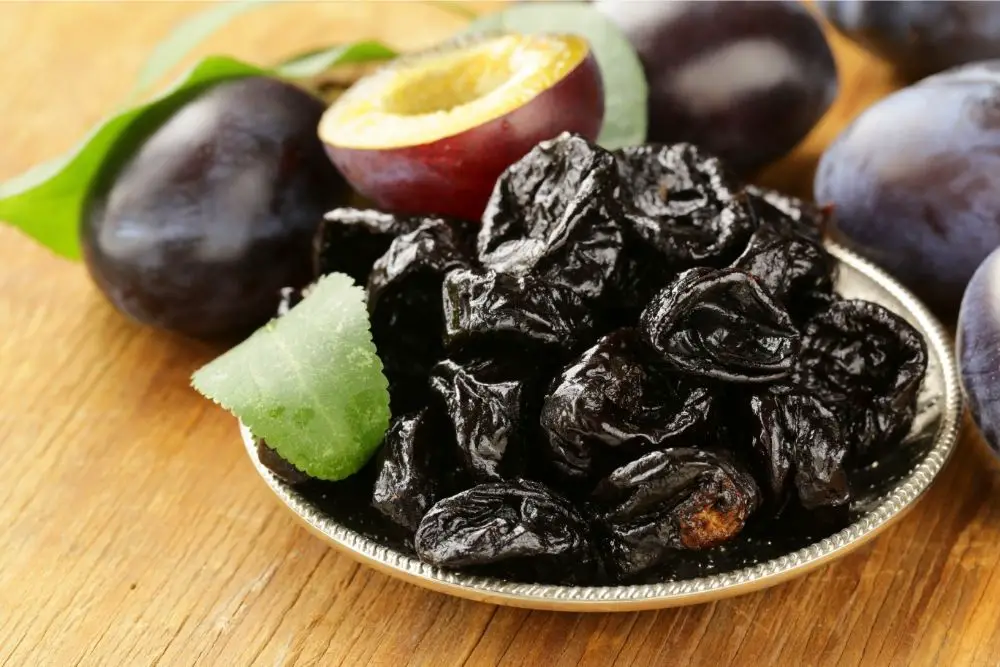
When they have been dried, dried plums are often known as prunes. They are large, and many people often confuse them with dates because of their similar shapes.
But, dates are their own fruit, whereas prunes are plums that have been dried out. So in short, a dried plum is a plum that has been dried. Otherwise, known as a prune.
What can Dried Plums be used for?
You might be wondering to yourself ‘why would I want to make dried plums?’ or ‘what can I use dried plums for?’, and the answer is simple. You might want to make dried plums because they are incredibly versatile and can be used in lots of different situations.
Now that you know that dried plums are the same as prunes, you will probably appreciate the fact that prunes make a great snack. So, if you want to stop buying prunes to snack in from the store, you can dry your own plums instead.
Dried plums are also great to add to smoothies and healthy shakes, as well as baked goods. Additionally, they really can take your trail mix to the next level. So, there are lots of things that you can use dried plums for.
Now, let’s take a look at how you can dry your plums yourself at home.
Ingredients: What You Need
The key to making cooking or baking as easy as possible is preparation. If you are organized, and know exactly what you need, and have it all ready at your fingertips, then you are much less likely to encounter problems.
Even with a recipe as simple as the one for drying plums, there is always the chance that something could go wrong. But, being prepared reduces this significantly.
With that in mind, here’s a list of all the equipment and ingredients you need to dry your plums.
Ingredients:
- Plums (Italian plums are preferable, but any type will work fine)
Equipment:
- Cutting board
- Sharp knife
- Food dehydrator
Once you have gathered the small number of things that you need for this recipe, you are ready to get going. To find out what to do next, keep on reading.
Recipe: Step-by-Step Guide
After you have all the equipment that you need, and your plums, ready, then you are good to go. But first, I would recommend giving this recipe a thorough read-through to familiarize yourself and ensure that you know what you are doing.
Step One: Prepare Your Plums
The first thing that you will need to do is prepare your plums. Like with any fruit or vegetable, the first step in doing this is washing them. As fruit and vegetables grow outside, they are exposed to germs and bacteria.
So, you must wash them. Especially if they will be being served with the skin on.
Once you have washed your plums thoroughly and dried them, you can then begin cutting them. You should begin by taking your knife and slicing half of the way around the pit of the plum.
This will weaken the skin of the plum, allowing you to take both sides of the plum in your hands. From there, you can then twist the plum and this will tear the plum apart into two halves.
From here, you will be able to access the pit and throw it away. When this is done, your plums are ready.
Step Two: Dry Your Plums
I said that this was a simple recipe, and it really is because you can dry your plums in just two steps. Once your plums have been torn in half, you then need to get them ready to dry.
To do this, you will need to take the tray out of your dehydrator and place the plums upon it. If you don’t want your plums to stick, then I would recommend placing them with the cut side sticking up in the air.
Don’t worry if your dehydrator doesn’t have much room, you don’t need to space the plums apart, you can cram them together. You will then need to dry them. It is best to do this according to the recommendations of the manufacturer of your food dehydrator.
Generally, this will take between 4-6 hours, but it might take a little longer if the plums you have bought are particularly juicy. To be safe, regularly check your plums and flip where necessary. When they have visibly dried, they are ready to eat.
Summary
In short, this has been a quick and handy guide to how to make dried plums, or prunes as they are often known. So, if you want to try this out, follow this recipe to help you.