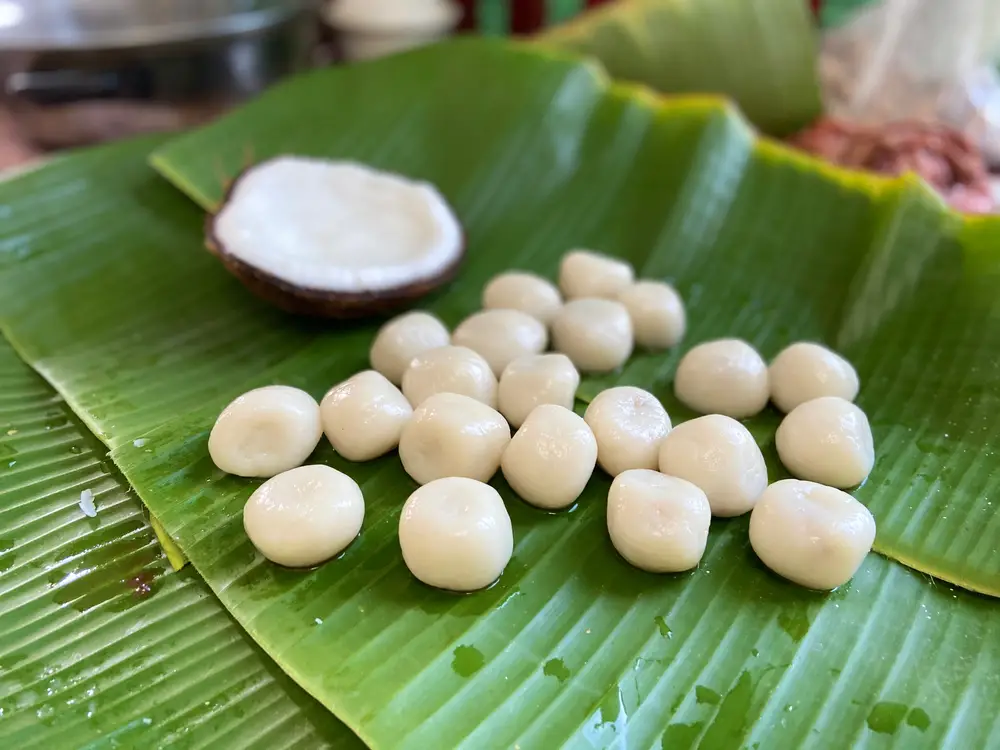
The Deliciously Versatile Side Snack
Sticky rice balls are a tasty and neat way to serve up an accompanying snack to almost any imaginable cuisine.
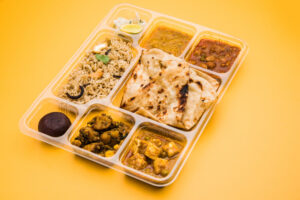
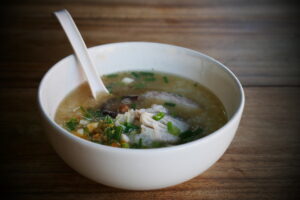
Treating yourself to Mexican food tonight? Sling on a couple of rice balls in your burrito. Feel like Chinese or Indian? Nothing goes better with broths and curries than sticky rice balls.
Even if you’re feeling like a taste of Italian tonight, sticky rice balls can take your dish to the next level in terms of both presentation and taste — yum!
I think a lot of cooks put off trying to make sticky rice balls because it seems like a tricky endeavor, but they’re actually amazingly simple to make, trust me!
My tum’s already grumbling, so let’s stop the chit-chat and get down to business. Are you ready to get sticky?
What You’ll Need for This Sticky Rice Balls Recipe
I’m keeping this recipe as simple as possible because the beauty of sticky rice balls is that they provide a blank canvas for you to flavor or stuff to suit the meal you’ve got planned.
I’m going to give you the basic know-how, and you’re going to take it from there with whatever flavors you’re feeling. Sound good? Good; here’s what you’ll need.
Ingredients
- 3 cups of short grain rice – Short grain rice is also known as glutinous rice, and it’s this glutinous, sticky texture that’s going to help the rice, well…stick.
- Enough water to keep the rice covered – I use the Thai method of cooking sticky rice balls, which involves using a sieve to cradle the rice as it boils in the pot.
- Literally, whatever you want – Rice is as versatile as it comes, and now that you’re going to be able to form neat little shapes with it, it opens up tons of flavorful options. I wholeheartedly recommend letting your creative side come to life and experimenting with anything you’ve got to hand in the kitchen.
Don’t worry if you’re not sure how or when you’d incorporate your own ingredients, as I’m going to be making tons of tasty suggestions during my step-by-step guide.
Equipment
- A medium-sized pan – You’ll be cooking the rice in this pan, so make sure your sieve rests nicely on the rim, and speaking of sieves…
- A sieve – You may think it’s strange to cook rice in a sieve, but all will be revealed, my friend.
- A medium burner – Gotta fire up the hob in order to boil up our sticky rice.
- An ice cream scoop (you need to taste our delicious Durian Ice Cream Recipe) – That’s right, folks. This is how we’re going to ball up our sticky rice.
- A Bowl – We’ll be using this to give our rice a nice soak.
- Side-Note – If you plan on stuffing your rice balls, you’ll need a couple of extras, such as cellophane and a chopping board.
Method
I’m getting hungry just writing this, so let’s dive straight into the method. You’ll be tucking into those delicious sticky treats in no time!
Step 1. Soaking the rice
Pour your three cups of rice into a bowl, then fill the bowl with enough water to cover the rice. The rice needs to soak for an hour before we actually cook it, but if you’re in a rush, feel free to cut the soak time in half.
If you want to add some subtle flavorings to your rice balls, now’s a good time to introduce them. Why not stir some ginger and garlic powder into the water?
It will mostly boil off during the cooking process, but a lovely hint of the flavor will remain, adding depth to the meal.
Note that I don’t rinse the rice. This is because washing rice removes the starchy coat, and we need all the stickiness we can get in order to shape the rice into balls once it’s cooked.
Step 2. Boiling the Rice
During the last five minutes of the soaking process, fill your medium-sized saucepan with water and put it to boil on the burner. Once the bubbles are a-bubblin’, empty your rice out over your sink into your sieve, then sit the sieve in the saucepan. Boil for 20 minutes.
If you’re going for an Italian risotto vibe, at this point you can add lots of tasty stuff to the water such as herbs, spices, stocks, or even white wine. If you are after more of a Chinese or Japanese-style meal, a dash of soy sauce is great too.
Why the sieve? Well, it’s simple, really; it’s all about keeping things as easy as possible.
Although you can absolutely eat sticky rice balls on their own, the chances are you’re at least cooking a sauce to go with them.
When we use a sieve, it stops the rice from making contact with the pan, so we don’t have to constantly stir it. All you have to do is ensure the water level covers the rice, and you can crack on with your other jobs.
Step 3. Drain and portion the rice
Once 20 minutes has passed, place your sieve of rice over an empty pot in your sink and allow the water to drain away.
Take your ice cream scoop (mine’s a 1/3oz scoop) and scoop up some rice, pressing it into the scoop with a spoon, and voilà; you’ve made your first sticky rice ball — hurray!
If you wish to stuff your rice balls with mango, or bacon, or whatever you’re in the mood for, place a small blanket of rice on some cellophane, add your filling to the middle, then enclose the mix in the cellophane.
Ball it up tightly with your hands, making sure the rice has fully surrounded the filling, unwrap it, and you’re done!
Final Thoughts – A Sticky Situation
There you have it, my hungry friend. Sticky rice (check out our rice noodle recipe) balls aren’t so difficult to make after all, huh? Now you can impress your friends and family with your sticky skills, whenever the feeling strikes, which, if you’re anything like me, will be all the dang time.
Hopefully, you’ve cooked up some of your favorite sauces and nibbles to serve with your sticky rice balls. All you have to do now is prepare yourself for a scrumptious meal. I’m very, very jealous!